If you have an idea for a physical card game you want to make, or are prototyping a digital card game, being able to create cards quickly and cheaply is super useful.
These are the techniques and products I use.
First things first - just playing around with ideas on paper. Lets say you already have a basic set of rules. By printing out cards and trying to play the game, you will learn a lot about how well it works.
The aim here is just to refine the rules. If it looks terrible, don’t worry about it. In fact, it’s an advantage here to have something really rough and ready.
This is the template I use.

I print out loads of these, and hand write the text on them. The cards are so basic and throw away that it keeps your options open - if something isn’t working, get rid of it.
If you like a card and need more copies of it, then use the copier. Remember these things? To be honest, I’d pretty much forgotten about them, but they’re amazing for prototyping.
You barely have to touch a computer during the entire process.
When the game seems to be working, make a note of how many of each card you’re using and start creating some proper templates on the computer using Inkscape, Illustrator, InDesign, Sketch, or whatever you like. Out of these, I think InDesign is the best suited because of a feature called data merge.
Now you have something that works, you should test out the cards you’ve designed on the computer. Personally, I think it’s important at this stage to get decent prints done.
If the cards are colour, print them out in colour. Make sure you’re printing out at 300 DPI. Print on photo paper. The idea here is to test the look and usability of the cards. Is the text too large/small? Is the contrast right? Can you tell the card is type X, and not type Y?
With a bit of imagination, the people play testing should be able to see it as an actual product.
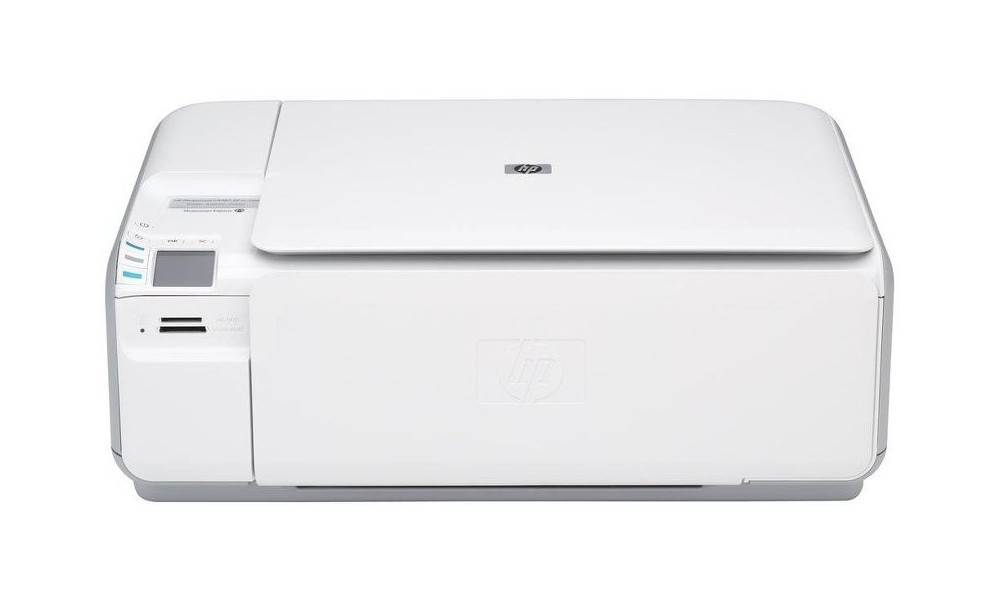
I use an inkjet colour printer, like the one shown above. Any semi-modern printer will print at greater than 300 DPI, and will give good quality prints on photo paper.
You don’t have to spend a fortune on photo paper. You can use thin printer paper, and put them in sleeves with an existing playing card. Or you can get thicker paper and use it by itself. High quality playing cards are printed on 300 gsm stock. Many home printers will struggle with paper this thick and rigid, so consider getting something slightly thinner. I’ve had good results using 235 gsm.
I use matt paper where possible. Some printers struggle with very glossy paper (it slips in the mechanism), and most professionally printed cards you purchase are semi-gloss anyway.
If you really want to put the finishing touches to your prototype, you can use a corner cutter.
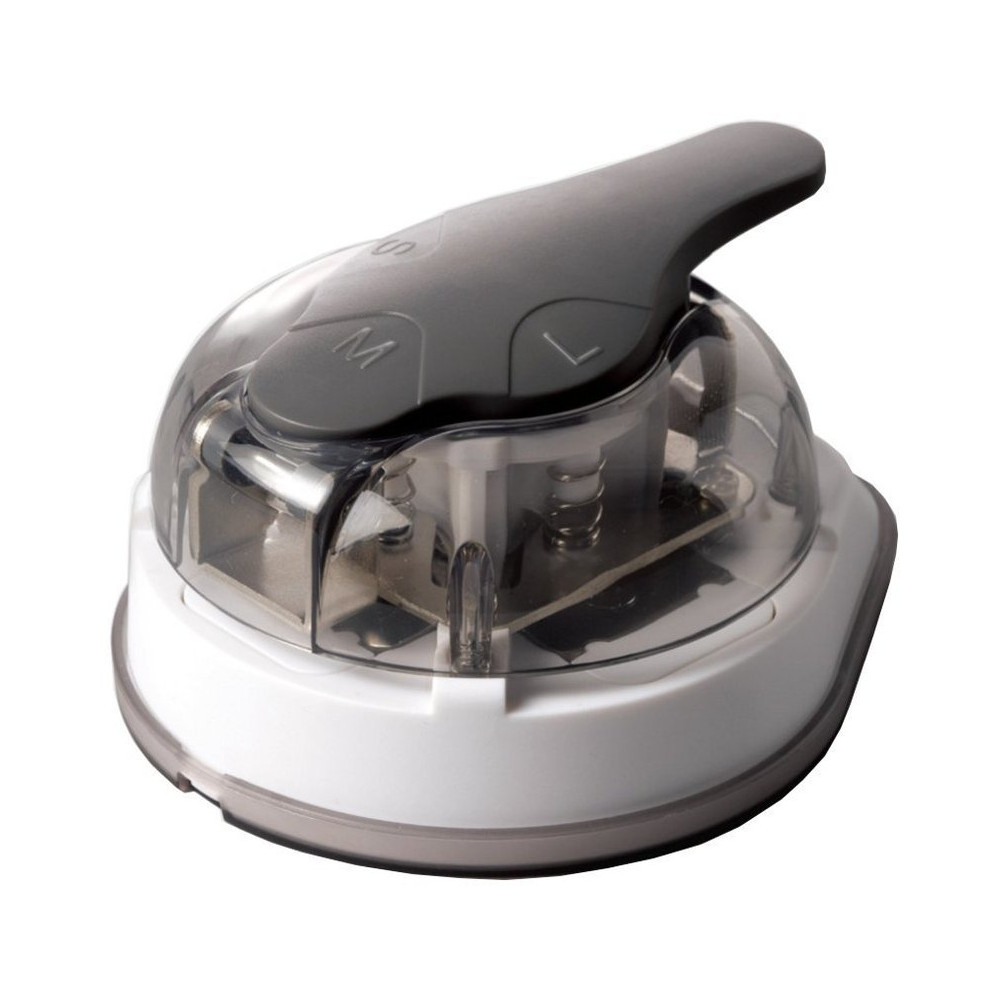
Yes, there are products which do this. This one in particular has great reviews. However, expect to have it shipped over from Japan. It’s called the Kadomaru Pro by Sun-Star, and shouldn’t set you back more than £10.
It cuts 3 different corner radius, the smallest of which is about 3 mm, which is what a playing card typically has.
At this stage it’s faster just to do them yourself. If you get them done online, and the prints takes several days to arrive, your iteration cycle is long. Get them professionally printed when you’re close to a final product.
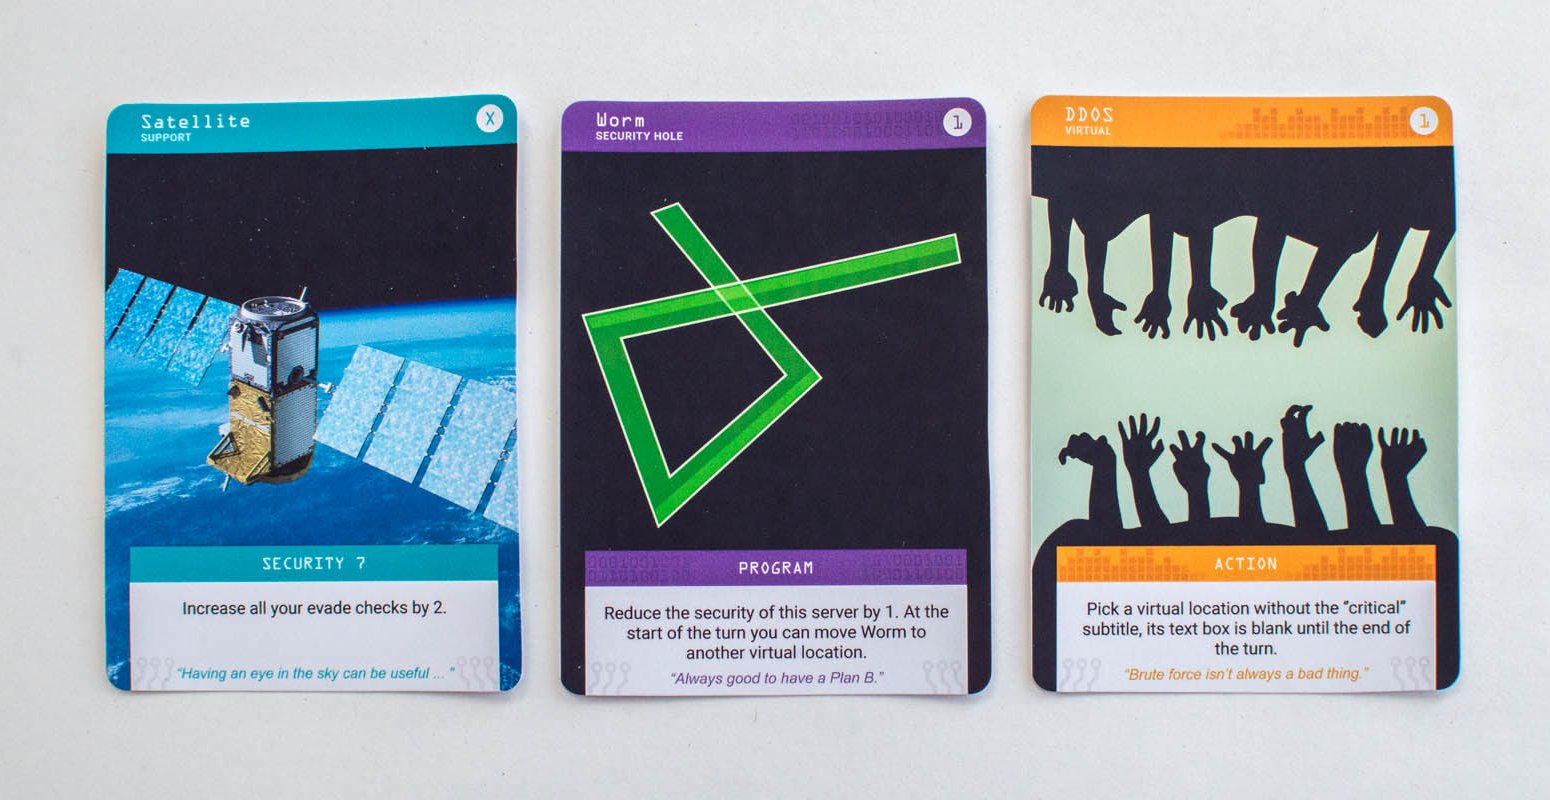
Using the above method, these are the kinds of cards I was able to produce.
There are now several companies who will print out decks of cards for you, with order quantities as low as 1 deck.
Once you’re happy with you’re prototypes it might be worth getting some printed. They will stand up to more wear and tear. You can get boxes printed for your game too.
This company is one of the best I’ve come across.
Hopefully this article will help you make your own prototypes! If you have any feedback, please leave it in the comments.

Dan Townsend
30/1/2016
Show comments